
Here is another fun design for you to stitch.
Though this design looks a little complex it is actually very easy.
Stitch it on the larger side for best effect.
The winning name, chosen by popular vote (Facebook and/or Instagram) on Sunday April 19, 2020 at 6:00 PM (Pacific) is “Trillium”.
Thank you and congratulations to Sherri Mullin Dawes of Nanaimo B.C. for suggesting this wonderful winning name.
Follow these Step By Step instructions to stitch this design
The sample has been stitched with 50 weight cotton.
Each motif is stitched around a central point.
*Please Note
Photos may be turned for better visibility.
Each motif is stitched around a central point.
*Please Note
Photos may be turned for better visibility.
1) From your start point, stitch a gentle arc.

2) Stitch an opposite arc back to your start point to create a narrow leaf shape.
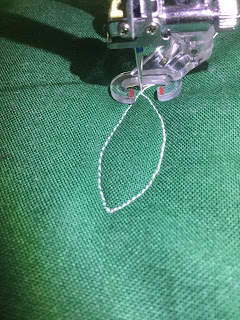
3) Stitch a line part way up the center.

4) Follow the center line back to the start point.
Don't worry about being too exact.
You have created one complete leaf shape.
We'll add more later.

5) Stitch a larger, flame shape next to the leaf.

2) Stitch an opposite arc back to your start point to create a narrow leaf shape.

3) Stitch a line part way up the center.

4) Follow the center line back to the start point.
Don't worry about being too exact.
You have created one complete leaf shape.
We'll add more later.

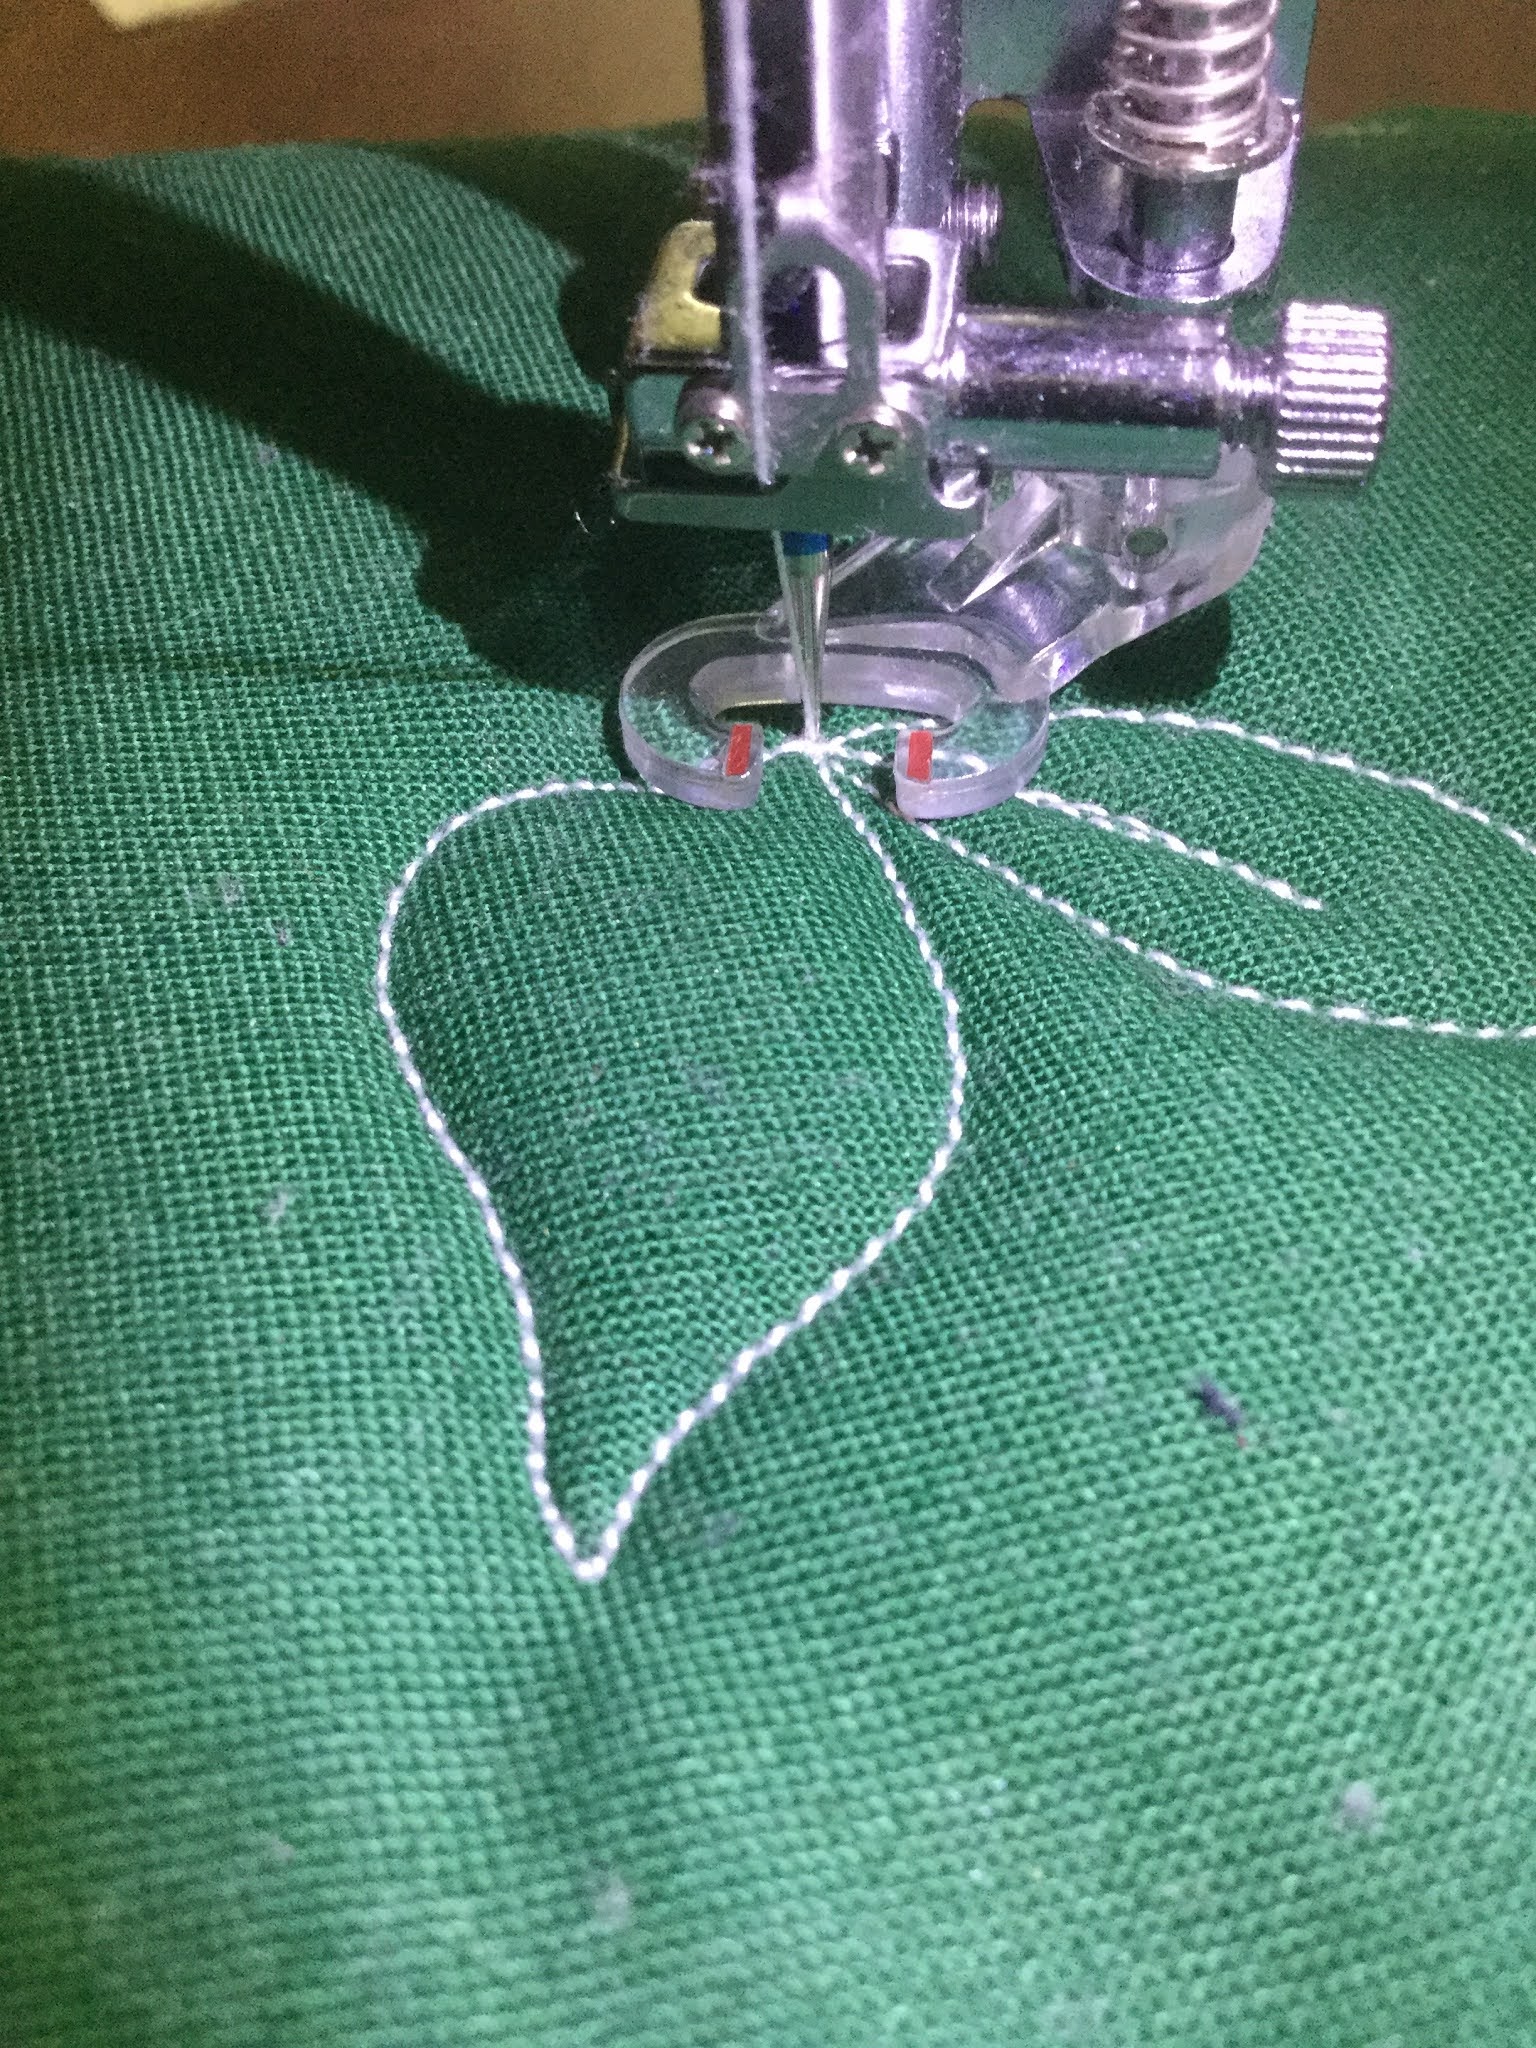

7) Echo back down to the start point at the center of the design.

8) To complete the petal stitch a medium sized teardrop shape with a smaller teardrop inside.
Return to the start point each time.

9) Repeat steps 5 through 8 to add two more equally spaced petals.

10) Now stitch a leaf in each of the remaining spaces between the petals.
You have created one complete motif ending with the needle in the center.
To get to the start point for the next repeat stitch on top of your previous stitching until you reach the tip of any leaf .
This will allow you to "travel" in any direction.

11) Stitch the first leaf of the next repeat.
You are starting at the tip of the leaf this time so you will need to stitch from the tip to the center of the design and back to the tip to complete the leaf shape.
Stitch on top of the first line of stitching to get back to the center.
Add the vein to your leaf.

11) Repeat steps 4 though 10 to complete the motif.
Continue in this manner until you have filled the desired area.

Have fun stitching this design and remember...
I love pictures!
No comments:
Post a Comment