
Here is a little free motion quilting diversion for you.
This new Free Motion Quilting Design has been named.
The winner was chosen by popular vote on Sunday April 5, 2020 at 6:00 PM (Pacific) from comments below, on Facebook and/or Instagram used to suggest a name or vote for your favourite.
Half
the fun of this is that I never know what you will see in my designs.
This
weeks design was inspired by a funny drawing of a rabbit done by my husband.
Many
of you actually saw this but in the end the winning name was quite
different.
Please
let me introduce
"Bee Bum Ballet"!
"Bee Bum Ballet"!
This
charming winning name was suggested by
Sherri Mullin Dawes of Nanaimo B.C.
Sherri Mullin Dawes of Nanaimo B.C.
Oh
the fun we have !
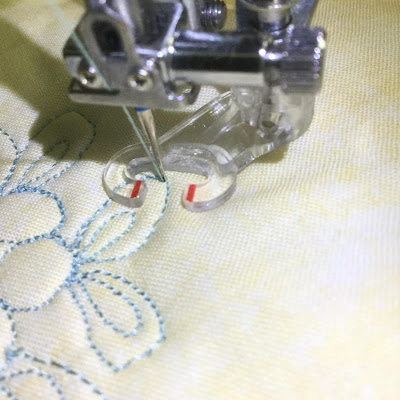
Follow these free step by step instructions to stitch this design
The sample design was stitched with 40 weight Rayon thread.
1) Stitch a full circle.
Stop with your needle in the down position.

2) Stitch an elongated oval shape.
Stop stitching when you come back to the circle.
The bottom of the oval can come to a point or be flat depending on where you touch the circle.


3) Stitch a little oval inside the first.


4)
Travel a little way around the circle.


5)
Now an oval like the first.
If
you line the base of the oval up to the circle the ovals will angle away from
each other like a V.


6) A
mini oval inside, like before.


7)
You have completed one section of the motif.
Travel
around the circle stitching on top of your previous stitching.
When
your needle is just below the center of the first circle reverse directions and
stitch a second circle.


8)
Add the outer oval, inner oval, outer oval, inner oval as before.
From
now on these oval combinations will be known as "wings".
Continue
in this manner until you have five circle units that form a secondary circle.
This
is one complete pattern.
The sample shown measures roughly 1½ to 2 inches across.
Isn't it cute ?

The sample shown measures roughly 1½ to 2 inches across.
Isn't it cute ?

9)
To start the next pattern stitch over top of the current stitching that forms
the outside of a wing.
Stop
when you reach the tip.

10)
Stitch an oval or wing attached to the previous one.


11)
Double stitch one side to bring you to the base of the wing.


12)
Now stitch the inner oval.


13)
Stitch a circle at the base of the wing then add the second wing.


14)
Continue in pattern to stitch the design.


Have fun with this one and remember to share your thoughts and photos in the comments !
No comments:
Post a Comment